What Is Control Panel? [All You Need to Know]
The Control Panel is a central hub in Windows where users can access and modify various settings in one place. While many are familiar with its basic functions, such as changing date and time settings or creating backups, having a deeper understanding of the Control Panel is essential to use it effectively. This guide aims to provide a comprehensive overview of the Control Panel, including its purpose and how to access it on different Windows versions.
What Is Control Panel and Its Uses
The Control Panel is a graphical user interface (GUI) that centralizes all Windows settings in one place, making it easy to access and modify settings. It is a configuration area that allows users to access different component settings under one roof, and is included in all Windows versions, from Windows 1.0 to the latest versions.
The Control Panel is a collection of different Windows settings, also known as applets, divided into multiple sections that help users find component settings with less effort, enabling actions like adding user accounts, installing programs, and changing accessibility options.
Windows 11's Control Panel is organized into eight sections, each leading to different settings, such as uninstalling programs and changing network settings.
The Windows 11 Control Panel has all these sections:
- System & Security The primary function of the Backup and Restore feature is to create new backups and restore old ones. This feature allows users to save their current state and settings, and then revert back to that state if needed.
- User Accounts - For adding or removing user accounts, etc.
- Network & Internet The Network and Internet settings area is used for managing and troubleshooting network and internet issues.
- Appearance & Personalization - For changing system fonts, icon sizes, and navigation properties.
- Hardware & Sound - To add new devices and access connected devices.
- Clock & Region - For changing time, date, or number settings.
- Ease of Access - For enabling speech recognition features.
- Programs - To uninstall third-party programs and Windows features.
The Control Panel is primarily used to make changes to system settings with ease, allowing users to customize and troubleshoot their Windows experience.
What Is the Development History of the Control Panel
The Windows Control Panel has undergone significant development since its introduction as an introductory program to manage settings. Over time, it has evolved to become an essential component of the Windows operating system, playing a vital role in managing various system settings.
Microsoft introduced the Control Panel in Windows 1.0, the first version of Windows, released in 1985. The Control Panel's interface was relatively simple, with fewer graphics, and offered limited options such as brightness and font customization. This early version of Windows also featured Microsoft's first game, Reversi.

Microsoft released Windows 2.0 in 1987, which featured significant enhancements in all aspects, including an improved Control Panel design and new options. The operating system also included a new game, Solitaire, which has remained popular even after many years.
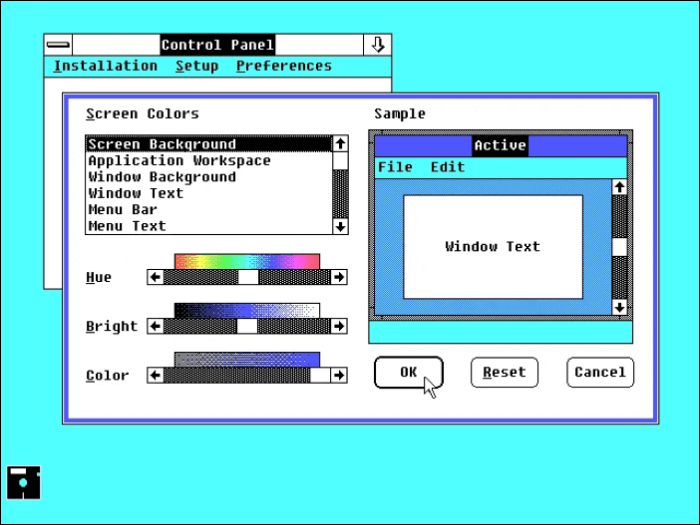
Microsoft released Windows 3.1 in 1992, featuring the TrueType font format and an advanced Control Panel with options for printer connectivity, font customization, and more, as well as the classic game Minesweeper.
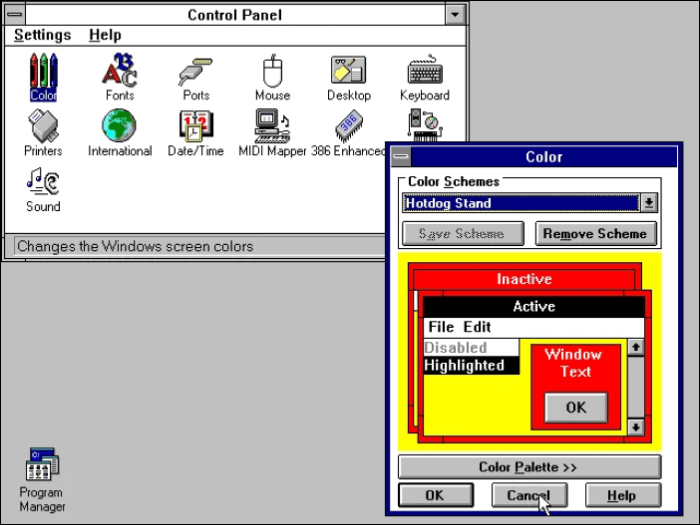
Microsoft continued to release updated versions of Windows with significant changes and advancements, culminating in the major release of Windows XP in 2001. This version remains a popular choice for many users who are still using older versions of Windows. Additionally, Windows XP introduced a new font type called ClearType, designed to improve readability.

The Control Panel in Windows has undergone significant improvements with each release, from Windows Vista to Windows 10, with features like User Account Control, Snaps, and Widgets being added, and it will likely continue to evolve with future updates.

How to Open the Windows Control Panel
Windows 11 and prior versions have various settings that can be accessed and modified through the Control Panel app. There are multiple ways to access the Control Panel, including a single-handed approach from the Control Panel app itself, allowing users to modify settings without needing to access other parts of the system.
Access Control Panel in Windows 11
Here are the five methods to access Control Panel in Windows 11:
- Method 1. Using the Windows Search Bar
- Method 2. Through Run
- Method 3. Using Settings
- Method 4. Using the Start Menu Windows Tools
- Method 5. Using the Address Bar in File Explorer
Method 1. Using the Windows Search Bar
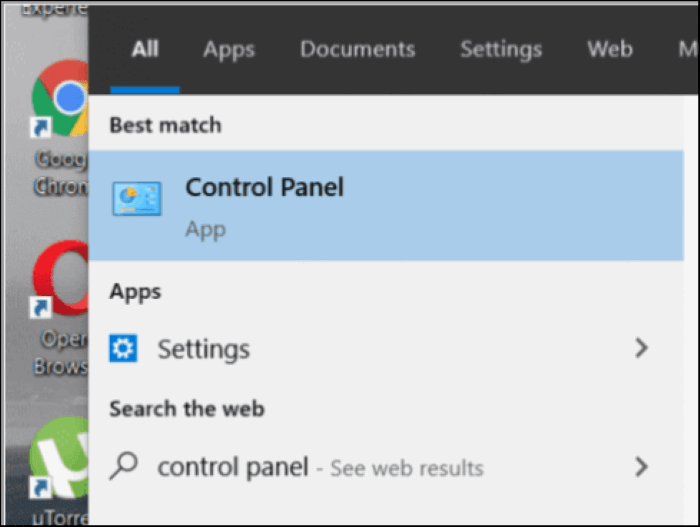
You can access the Control Panel in Windows 11 using the Windows Search Bar. To do this, simply type "Control Panel" in the search bar and press Enter, which will open the Control Panel for you.
Step 1. First, click on the "Search icon" in the taskbar.
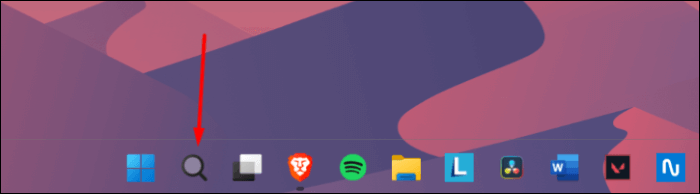
Step 2. Then, type Control Panel in the search bar.

Step 3. Click on the "Control Panel" under the Best match section.

Method 2. Access Control Panel Through Run
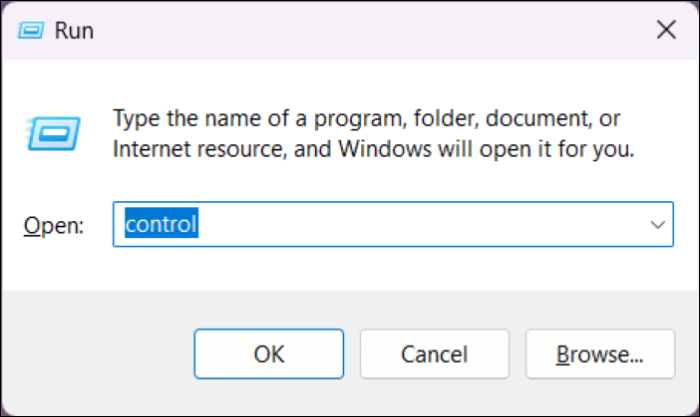
To launch the Control Panel in Windows 11, one of the easiest methods is to use the Run program. To do this, simply press the Windows key + R on your keyboard, which will open the Run dialog box. In the Run box, type "control" and press Enter, and the Control Panel will be launched. This method is quick and straightforward, making it a convenient option for accessing the Control Panel.
Step 1. Press "Windows + R" to launch the Run program.
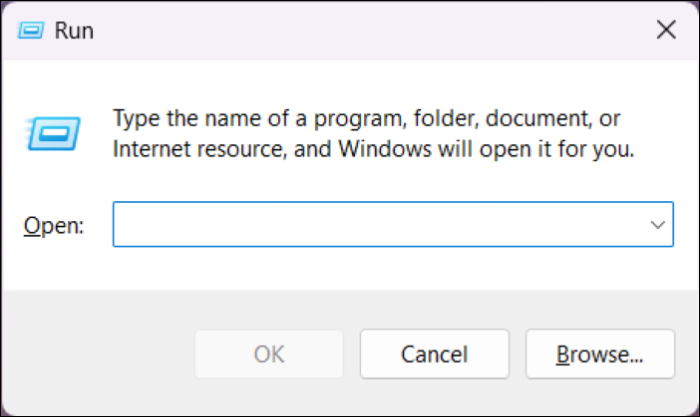
Step 2. Go to the Control panel on your computer, which is a central place where you can change various settings and preferences. You can access it by typing "Control" in the search bar and hitting the "Enter" key. This will open the Control panel, where you can find options for adjusting display settings, sound settings, network settings, and more.
Method 3. Using Settings
To open the Control Panel through the Windows Settings app, go to Settings, then click on the System icon, and finally click on the About tile. This will open the Control Panel. Alternatively, you can go to Settings, then click on the System icon, and finally click on the Display tile.
Step 1. To open the Settings app, press the Windows key and the I key simultaneously. This will bring up the Settings window where you can access various system settings and preferences.
Step 2. Type Control Panel in the search bar.
Step 3. Click on the "Control Panel" appearing in the search results.

Method 4. Using the Start Menu Windows Tools
You can also easily launch the Control Panel tool through the Windows Tools menu. To do this, follow these steps: [insert steps here].
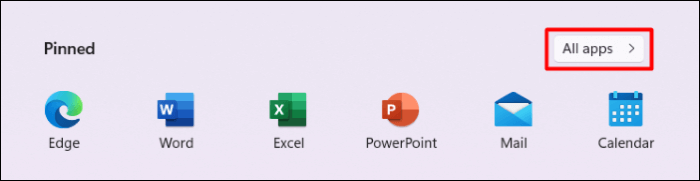
Step 1. First, click on the "Windows icon" in the taskbar.

Step 2. Then, click on "All apps".
Step 3. Now, select "Windows Tools".
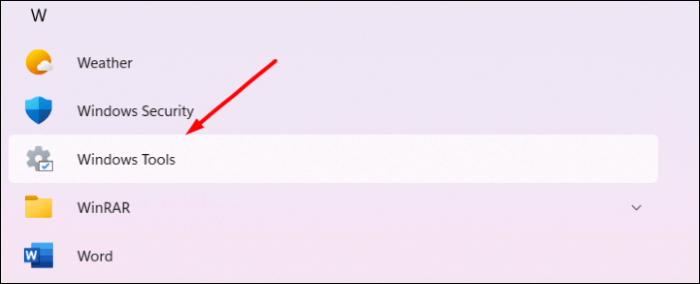
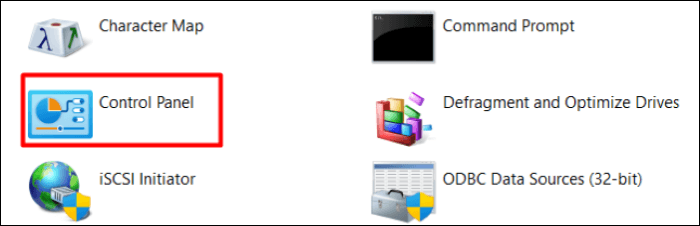
Step 4. Lastly, click on the "Control Panel" to open it.
Method 5. Using the Address Bar in File Explorer
To access the Control Panel in Windows 11 using the File Explorer app, navigate to File Explorer, click on "This PC" in the left sidebar, right-click on "This PC" and select "Properties," and then click on "System info" in the right sidebar. This will open the System Properties window, where you can click on "Control Panel" at the bottom to access it. Alternatively, you can also search for "Control Panel" in the search bar within File Explorer to quickly find and open it.
Step 1. To open This PC app on your Windows 11 PC, you can simply click on the Start button, which is typically located at the bottom left corner of your screen, and then click on the "This PC" icon in the list of apps that appears. Alternatively, you can also type "This PC" in the search bar and click on the result that appears. Once you've opened the app, you should see a list of drives and devices connected to your PC, including your local disk drives, network drives, and removable devices.
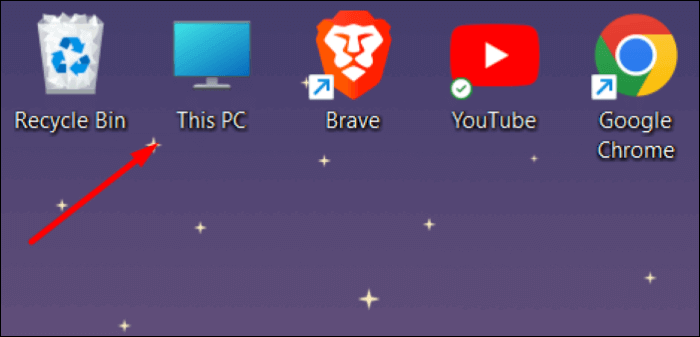
Step 2. Click on the arrow next to the Monitor icon in the search bar.

Step 3. Select the "Control Panel" from the dropdown menu.

Access Control Panel in Windows 10
Follow the below-mentioned steps to open the Control Panel in Windows 10.
Step 1. Click on the "Search Bar" in the taskbar.
Step 2. Then, type Control Panel and press "Enter".
Step 3. Click on the "Control Panel" from the search results.
Access Control Panel in Windows 8 and 8.1
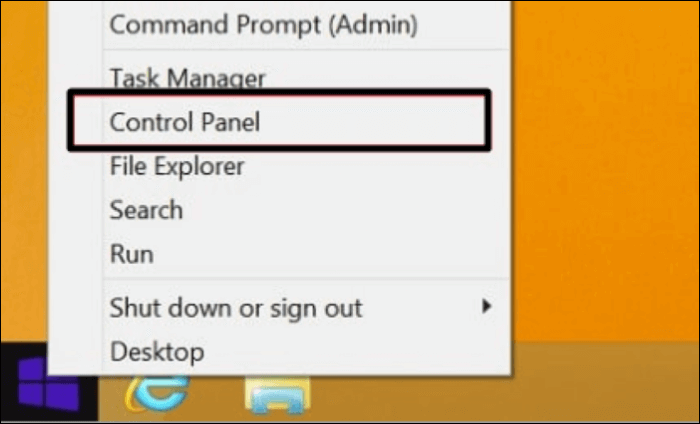
To launch the Control Panel app in Windows 8 and 8.1, you can quickly access it from the Power User Menu by pressing the Windows key + X, then select Control Panel from the menu that appears. Alternatively, you can type 'control panel' in the search bar, and it will be displayed in the search results. Once you select it, the Control Panel app will open.
Step 1. Move the mouse's arrow to the left corner of the screen, right-click, and select the "Properties" option.
Step 2. To access the Control Panel, you can right-click on the Start button and select "Control Panel" from the Power User Menu.
Access Control Panel in Windows Vista and 7
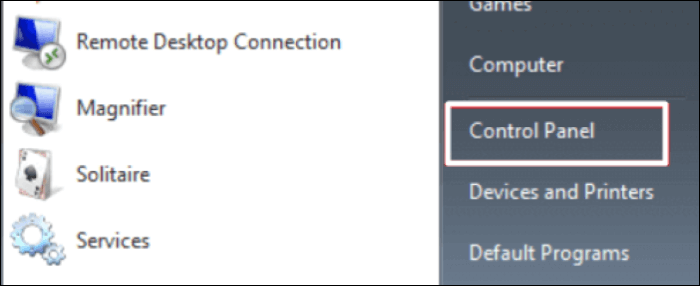
To access the Control Panel utility in Windows Vista and 7 from the Start Menu, click on the Start button, then click on the Control Panel option in the Start menu. Alternatively, you can type "control panel" in the search bar and press Enter to open it directly.
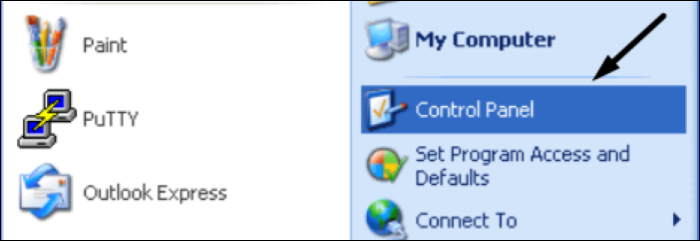
Step 1. Click on "Start" on your desktop screen.
Step 2. In the end, select the "Control Panel" from the right side of the Start.
In Windows 95, 98, ME, NT, and XP
To open the Control Panel app in Windows 95, 98, ME, NT, and XP, follow these steps: simply click on the Start menu and select "Control Panel" from the list of available programs. This will open the Control Panel app, where you can view and manage various system settings and features.
Step 1. Click on "Start" and select "Settings".
Step 2. Lastly, select the "Control Panel" from the mentioned options.
Conclusion
The Control Panel is a simple way to access all Windows settings in one place, allowing easy modification of system settings. It can be opened using various methods, and serves as a central hub for managing Windows settings.
Related Articles
- What is Windows Image Boot (WIMBoot)?
- MS-DOS Commands [Everything You Need to Know]
- What Is Differential Backup? Definition and Comparison
- What is Windows PE and How to Use It