How to Backup Windows Data to QNAP NAS Drive
It's amazing for personal users, small businesses, or large enterprises to own a QNAP NAS Drive. Comparing with the 'real' physical external hard drive, QNAP's Network Attached Storage (NAS) showcases some obvious advantages when choosing it as a backup drive. QNAP NAS are systems that consist of one or more hard drives that are constantly connected to the internet, which are all available for users to backup Windows data such as system, documents, working sheets, game data, and media files like photos, videos, and music. Most of all, rather than taking it everywhere, it is placed at home and always accessible at any time and anywhere.
To back up to the QNAP NAS drive from Windows, there are many ways can make it happen. But here, we recommend you QILING Disk Master and offer a complete tutorial for QNAP NAS drive users who want to backup Windows data to QNAP NAS drive daily or nightly without interruption.
How to Backup Windows System & Data to QNAP NAS Drive Using QILING Disk Master
It's an effective and complete NAS backup software that provides multiple backup options to QNAP and instant disaster recovery. Download and install it on your Windows machine, and make it detect the QNAP NAS drive.
Your Backup Windows Data to QNAP NAS Drive Software
- It offers multiple backup modes to the user so that they can customize their backup types as per their requirements.
- It works in the background to backup the computer to an external hard drive, and it also allows you to schedule backups as per your requirement.
- It can back up all the files which are selected by the user without any interruption or issues.
- The backup Windows 10 to external hard drive tool capable of cloning or copying the disk to protect data from any kind of loss.
How to Backup Windows Data to QNAP NAS Drive
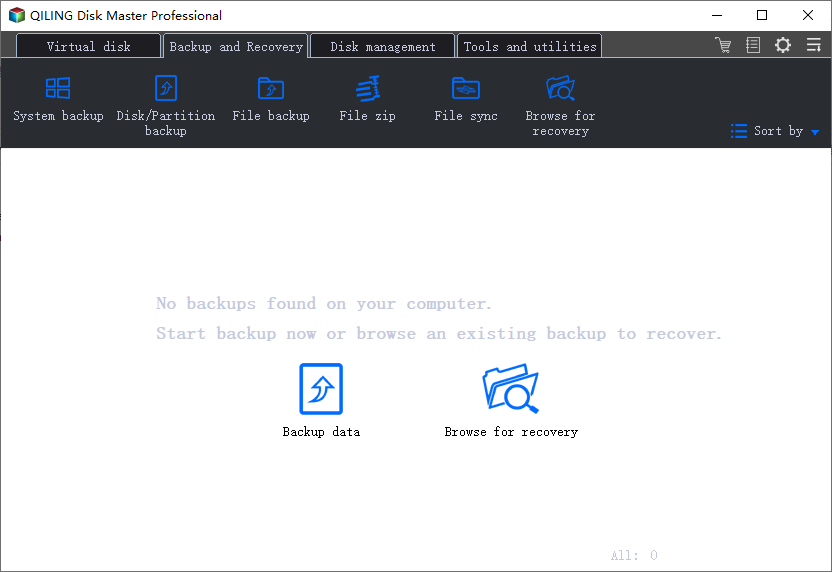
Step 1. Launch Qiling Disk Master. Choose one backup option as you want among "Disk/Partition", "File", "System" and more.

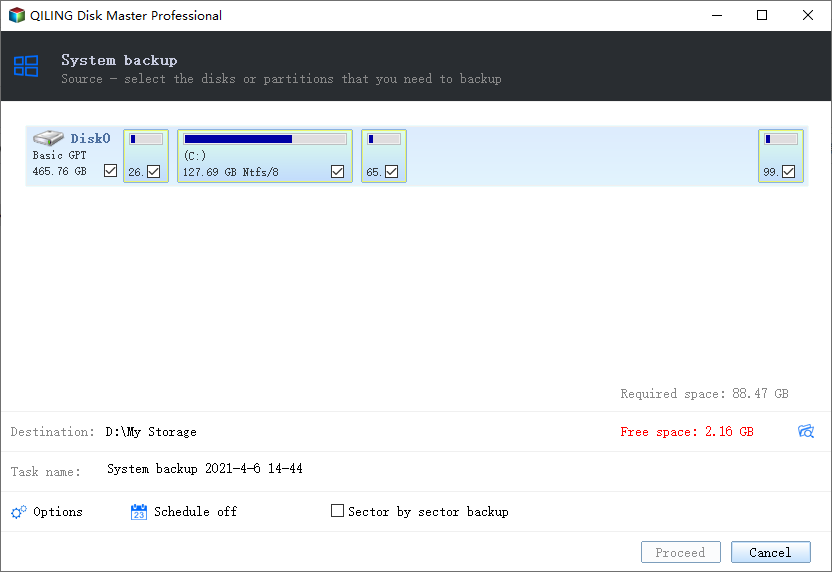
Step 2. Choose the specific contents you want to back up, and this is where you can choose a NAS device to be a backup location: in the "Destination" area, click browse icon.

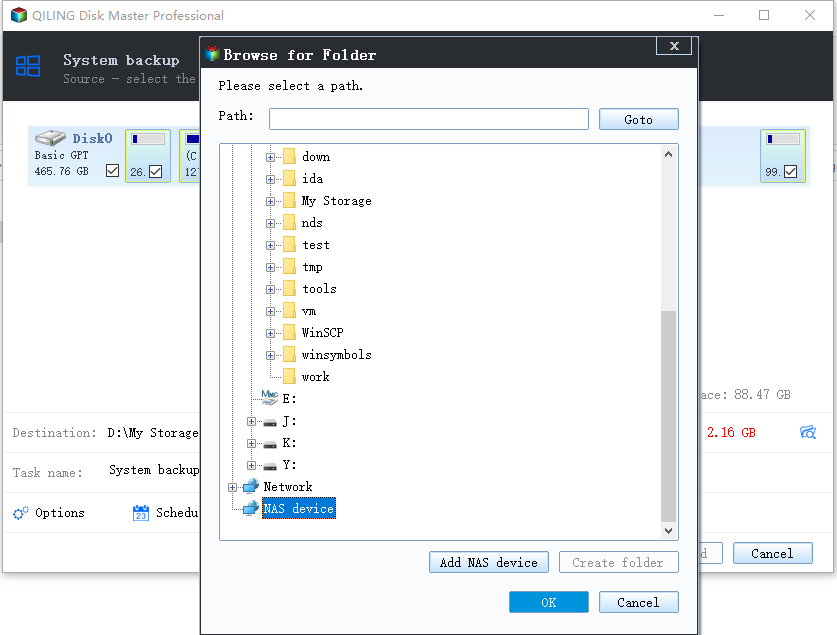
Step 3. On the new pop-out window, you will see "NAS Device" on the list. Tick the "NAS Device" and click "Add NAS device" button.

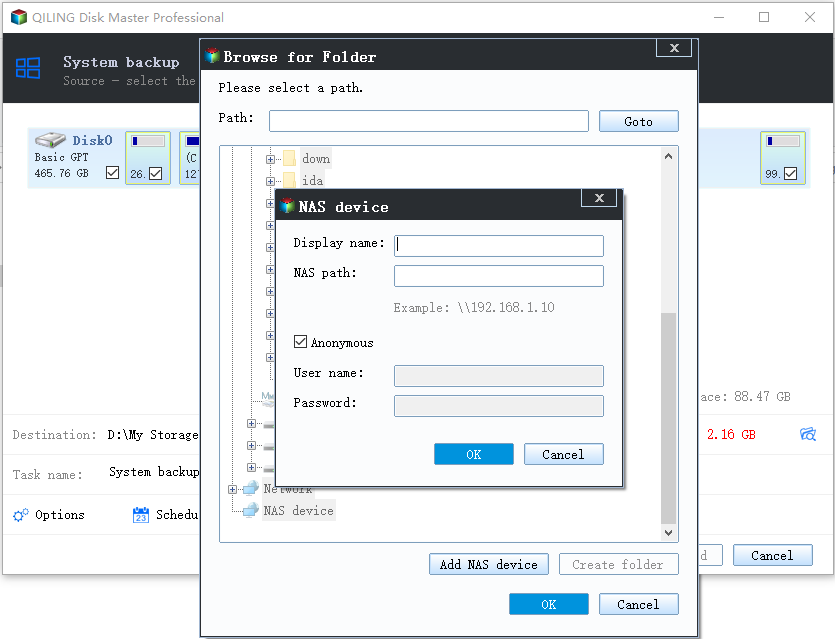
Step 4. Input your NAS IP/name and enter your credentials to connect to NAS. Click "OK".

Step 5. Click "Proceed".
Related Articles
- Windows recovery & backup software to recover your files or folders
- How to Set Dell Factory Restore without Losing Data?
- Restore Windows 10/8/7 System Image to New/Different Computer
- Best Disk Cloning Software for Windows 7
- Download System Clone Software to Clone OS in 2 Procedures
- Transfer Windows 10 Installation to New Hard Drive