How to fix Macrium Reflect clone failed
The Macrium Reflect clone failed with a read or write error. This issue can occur due to various reasons such as corrupted system files, disk errors, or issues with the Macrium Reflect software itself. To resolve this, users can try running a disk check, checking for disk errors, and ensuring the Macrium Reflect software is up-to-date. If the issue persists, it may be helpful to try cloning the image to a different location or using a different cloning method.
The error you're experiencing with Macrium Reflect while cloning your OS from HDD to a new Samsung 840 SSD might be due to several reasons. One possible cause is the SSD not being properly initialized or formatted before the cloning process.
'Clone failed - Read failed - 13 - Broken pipe'
Any help with this problem?"
If you're experiencing this issue during disk cloning, don't panic. It's not a major problem, and there are potential solutions to help you out.
Run CHKDSK to check & repair source disk errors that might cause Macrium Reflect clone failed issue
1.Click 'Start' > 'All Programs' > 'Accessories' then click 'Command Prompt'.
2. To run a disk check on your system drive, type the command 'chkdsk C: /r /f' in the Command Prompt, replacing 'C' with the letter of your source drive if it's different from the default 'C'. Press Enter to execute the command.
The command will run CHKDSK to scan the source disk, repair errors, and fix bad sectors. After completion, reboot your PC and retry the clone process.
Macrium Reflect may struggle to complete the disk cloning process due to undetected disk problems, which chkdsk may not always catch and fix.
Try an alternative software when Macrium Reflect clone failed after CHKDSK
If the cloning process fails, you can try using Qiling backup software as an alternative to manage the disk clone job. It has a sector-by-sector clone feature that can successfully clone a hard drive with bad sectors.
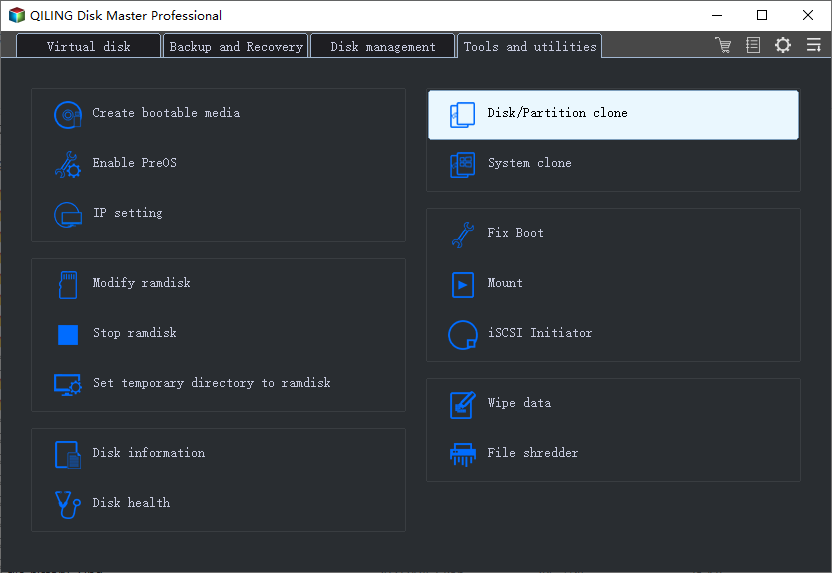
Step 1. Launch and run Qiling Backup on your PC and select "Clone" on the tool page.

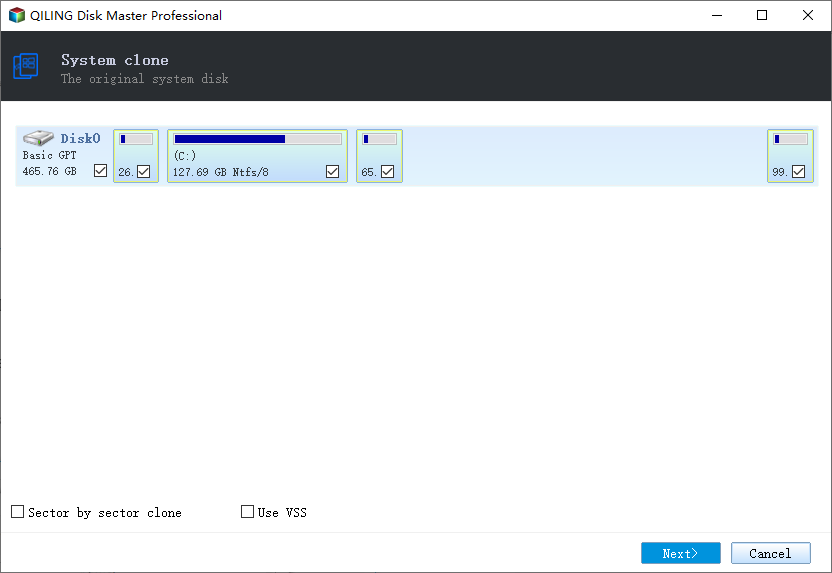
Step 2. Select the disk or partition that you want to clone.
If you prefer to allocate the target disk with the same layout as the source disk, simply enable a sector level clone by selecting the "Sector by sector clone" option.

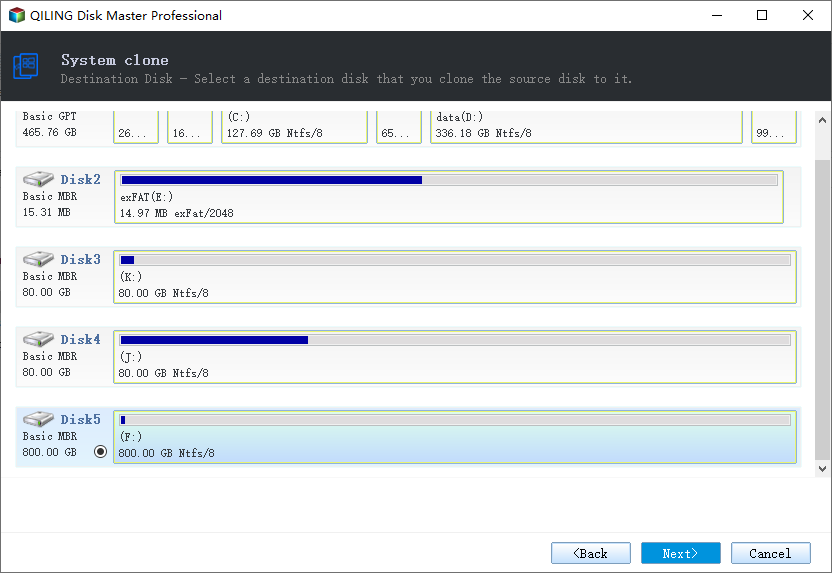
To save a cloned disk or partition with data, select the destination disk where you want to save the cloned disk or partition. This will ensure that the cloned disk or partition is saved to the desired location.

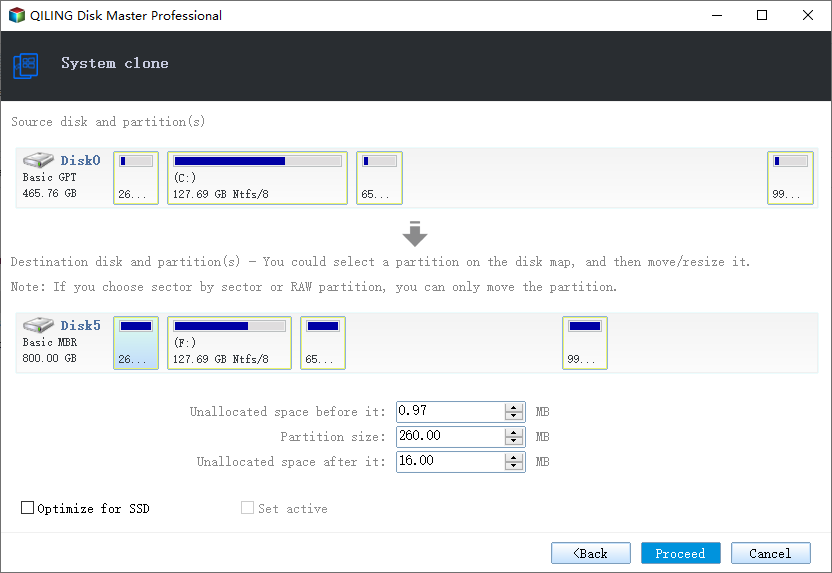
Step 3. Click "Proceed" to start cloning your disk or partition now.
Since it's an SSD, check the box for "Optimize for SSD" to ensure your SSD runs at its best performance after cloning.

Related Articles
- How to Replace or Upgrade System Drive in Windows 10
- Free Download Qiling Backup Full Crack + Serial/Keygen
- [Solved] How to Set Automatic Backup to OneDrive in Windows 10/8.1/8/7/Vista/XP
- Restore System to Dissimilar Hardware with Qiling Backup