How to Back Up Network Shared Files Using Network Backup Software
Need a reliable Network hard drive backup solution
"At work, we have a small workgroup - 8 PCs all running Windows 10. We also have a WD My Book network drive, one folder of which is accessible to all PCs, configured as Drive Z. Now I want to find a Network hard drive backup solution that allows me to automatically backup that Z drive to another drive daily. I there any free Network backup software recommended?"
Not only data on your local hard disk but also data on network all need to be protected. To do this job, you need a reliable network backup software which can support network shared files backup. To backup local computer to network also has a great significance that you don't need to bring any removable storage device anytime if only you have access to internet. And backup data to a separate location can avoid data loss caused by hardware failure. But what is the best Network backup software?
What is the best Network backup software
For a reliable free Network backup software, we recommend you Qiling Backup Free. It provides you safe and easy network backup solution for Windows. The software provides many flexible and advanced features such as full backup, differential backup and incremental backup to backup network shared files. And it allows you to backup network shared files to local hard disk, removable storage device, and network. Also, you can backup local hard disk to network. You can manage the image file to compress the image file, encrypt, split, update and delete it. You can also recover the image file when you need the data.
How to backup data with Qiling Network backup software
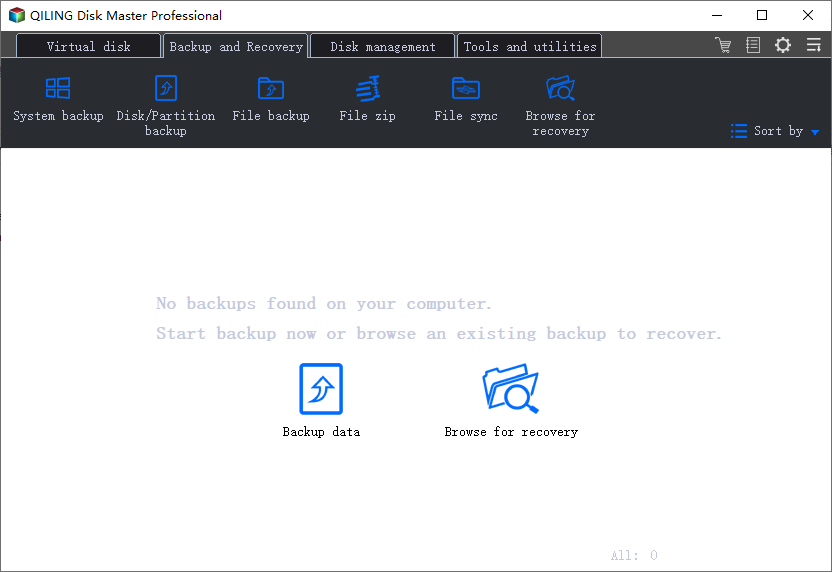
Step 1. Launch and run Qiling Backup on your PC and click "File backup" on the main window.

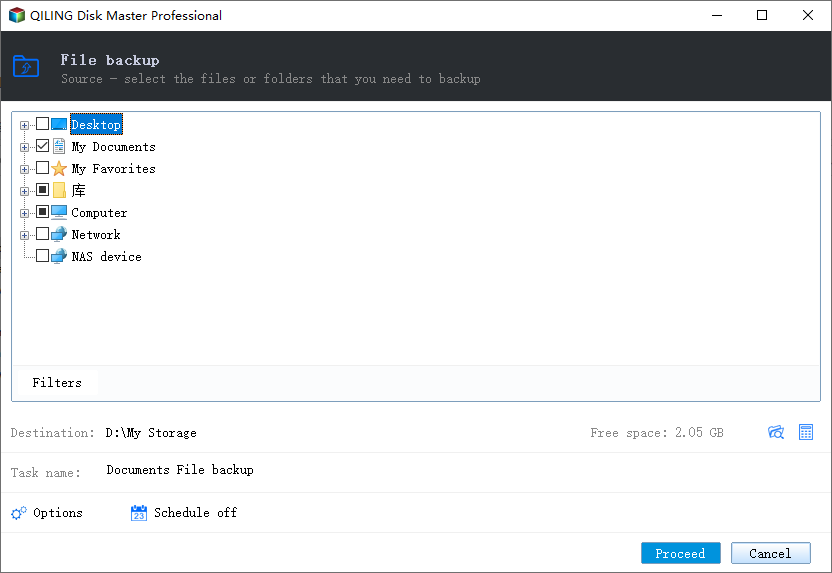
Step 2. Click "Network" and select the network drives or devices that you want to back up files from.
Note: If ther is a error "Network failure, check the network.", please enable SMB protocol and try it again.

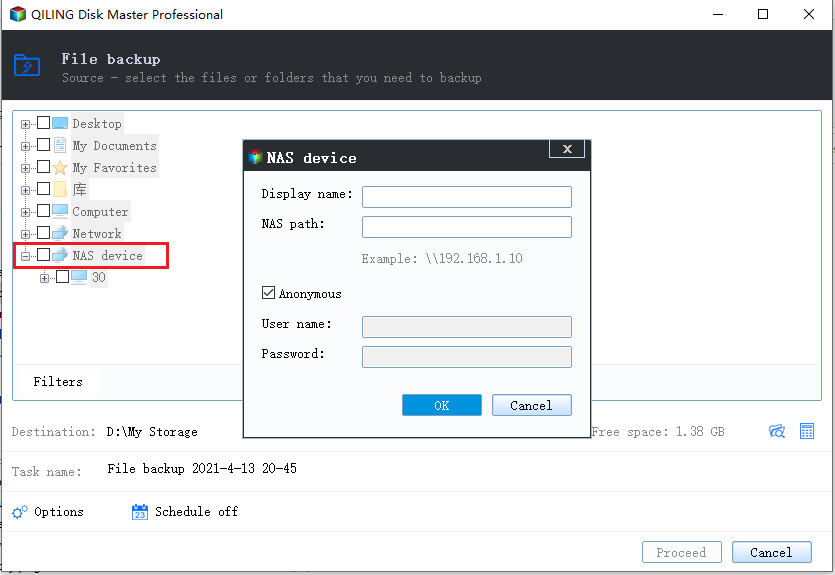
You can also right click "NAS device" and add the computer IP to the box, and select files in the computer for backup.

Step 3. Enter your credentials to connect the selected network hard drive and access the saved files there.

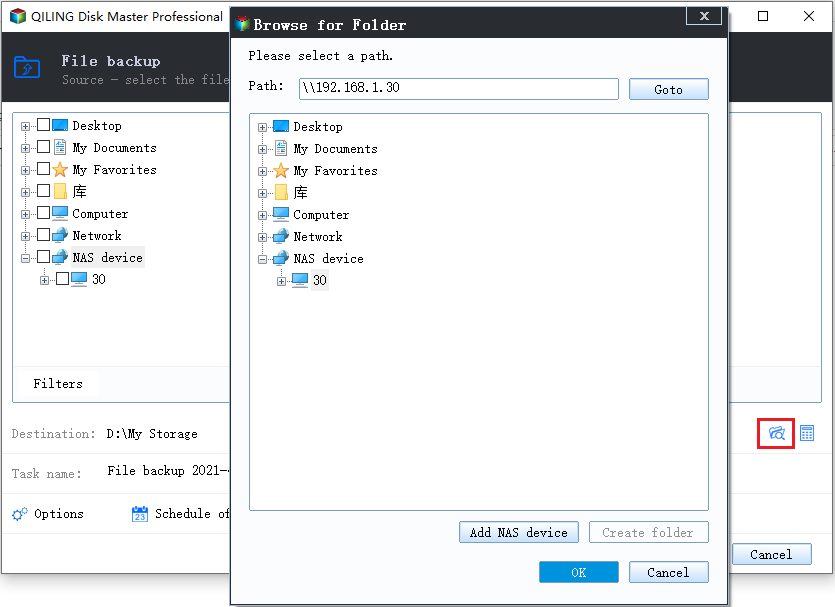
Step 4. After this, choose the destination where you want to save the backup images from network hard drive and click "Proceed" to complete.
If you want to backup network shared files using incremental backup, refer to the document below. (You should choose File backup when you want to backup network shared files.)
How to perform incremental backup?
Note: There is only a slight difference when you follow the above document to backup network shared files. When you are on the page to choose files to backup, choose the drive letter you have mapped.
Related Articles
- Best USB Image Tool for Windows 10/8/7 Free Download
- Three SQL Server recovery models: simple, full, bulk-logged recovery model
- 7 Best Free Imaging Software for Windows 10/8/7
- How to Clone Windows 10 Operating System
- How to Clone Windows 10/8/7 to Another Computer
- Clone Windows 10 Hard Disk Partition