Time Machine Backup Schedule - A Beginner Guide
Time Machine(macOS), as everyone knows, is a macOS built-in backup utility that Apple Inc. developed to create backups of your Mac data. It was first used by Mac OS X 10.5 Leopard in 2007, has been applied in the new series since then, and has been continuously improved.

Time Machine will automatically back up files to external hard drive or other dsik on your Mac, including music, videos, apps, documents, etc. If the data is lost due to a computer error or you delete it by accident, it will help to restore them easily and quickly.
It allows you to save the backup to multiple storage devices, like an internal hard drive, external hard drive(HDD/SSD), flash drive, or Time Capsule.
Preview of Time Machine Backup Scheule
Time Machine Backup Schedule, as its name shows, will create computer data backup at a specific time. It will back up hourly, daily, or weekly based on your settings.
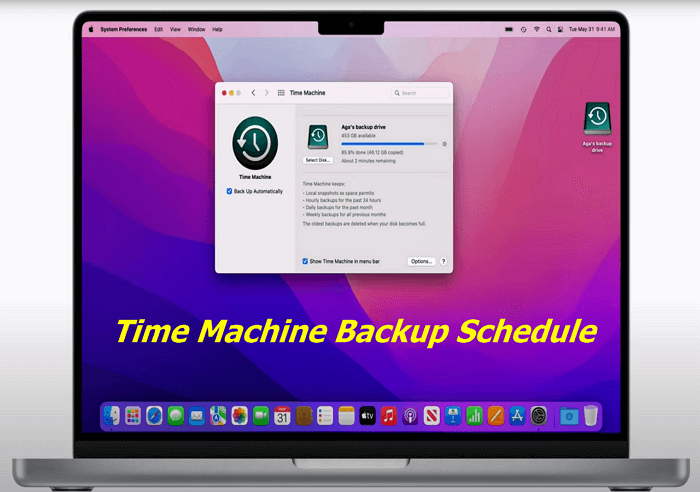
Time Machine will perform a full backup of your Mac PC the first time you set it up. It may take a longer time to finish the task if your computer contains a lot of data on it. After the first full backup, Time Machine will check your document every hour for updates and then perform an incremental backup to these changed or deleted data. These hourly backups are only saved on your computer for 24 hours. And Time Machine will also save these daily or weekly backups for one month and accumulate continuously until the storage location is full.
How to Set a Time Machine Backup Schedule on Mac
To start the Time Machine Scheduled backup, you are supposed to prepare a backup storage disk. It is suggested that you use an external hard drive that is larger than your source disk. Now, follow the steps to set up a scheduled backup with Time Machine on your Mac.
Step 1. Connect an external hard drive to your Mac and make sure it is detected.
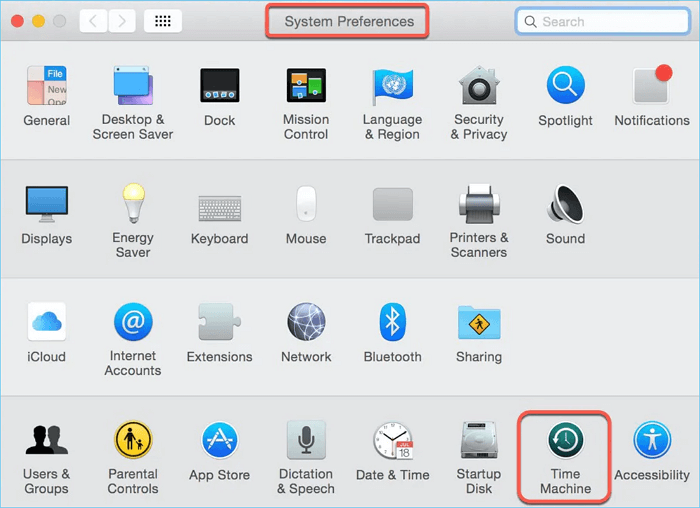
Step 2. Open the Time Machine with the following path:
For macOS Ventura or later: Click Apple menu - System Settings - General in the sidebar - Time Machine.

For earlier versions of macOS: Choose Apple menu - System Preferences - Time Machine.
Step 3. If this is the first time you use Time Machine, it will ask you if you want to use this hard drive ad the target disk. Click the "Use as Backup Disk" button. )If not, click the "Select Backup Disk..." button to add the backup target disk.
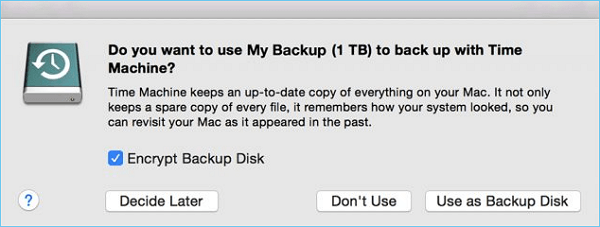
You can also check the "Encrypt Backup Disk" option to protect your data from leaking out.
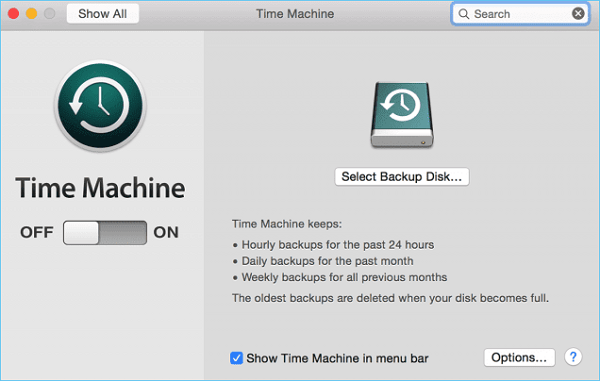
Step 4. When you finish selecting the backup disk, Time Machine will begin to create a backup automatically. It works with the following scheduled backup plan:
- Hourly backups for the past 24 hours
- Daily backups for all previous month
- Weekly backups for all previous months
- The oldest backups are deleted when your disk becomes full.
How to Change Time Machine Backup Schedule on Mac
The backup frequency of Time Machine cannot meet everyone's individual scheduled backup needs. Therefore, many people want to know how to change the Time Machine backup schedule on their Mac. Here are the steps:
Step 1. Open Time Machine settings, and click Options.
Step 2. Click the "Back up frequency" option, and choose a backup frequency. It only provides four options:
- Manually
- Once every hour
- Once every day
- Once every week
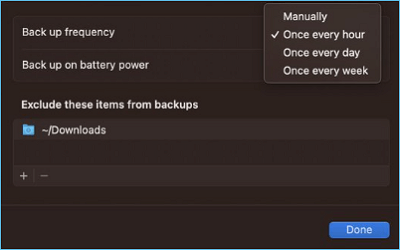
Step 3. Click the "Done" button when you choose a frequency, and it will perform a scheduled backup automatically.
If Time Machine still can't meet your needs about schedule backup, you can turn to some third-party backup software, like Qiling Disk Master pro, for help, which will provide more customized backup choices.
Conclusion
Time Machine Backup Schedule can help you to back up your Mac data regularly, ensuring that all the important documents, photos, music, and applications are stored in time. It is a great way for Mac users to protect their data from unexpected loss or damage. Hope this post helps you learn more about the Time Machine backup schedule.
Related Articles
- How Does an SSD Work | SSD VS HDD 2023 - Qiling
- Samsung Portable SSD T7 Processes Fast Transfer Speed with Robust Security
- What Is MacOS Extended Journaled? [Updated 2023]
- Windows 11 Taking Forever to Install? Get Complete Guide to Fix Windows 11 Slow to Install Issue