What Is the Easiest Way to Shred Files in Windows 10?
Do you know about file shredding in Windows 10? When you delete files, they don't vanish permanently; they can be recovered if not properly deleted. Shredding files ensures permanent deletion, which is crucial for protecting sensitive data.
Whether you're a professional, student, or casual user, your computer likely holds data you'd rather keep private. Leaving sensitive files unshredded in Windows 10 poses risks in an era of increasing cybersecurity threats and data breaches.
File shredding goes beyond deletion; it makes data irrecoverable by overwriting it with random information. This robust protection against data recovery is essential. In this guide, we'll introduce file shredding, its benefits, and easy steps to implement it on Windows 10 for enhanced data security.
How to Shred Files in Windows 10?
As we discussed, you must shred files in your Windows 10 due to our data security and privacy. In this regard, we guide you step-by-step through the entire process to shred files easily.
Stage A. Selecting Files for Shredding
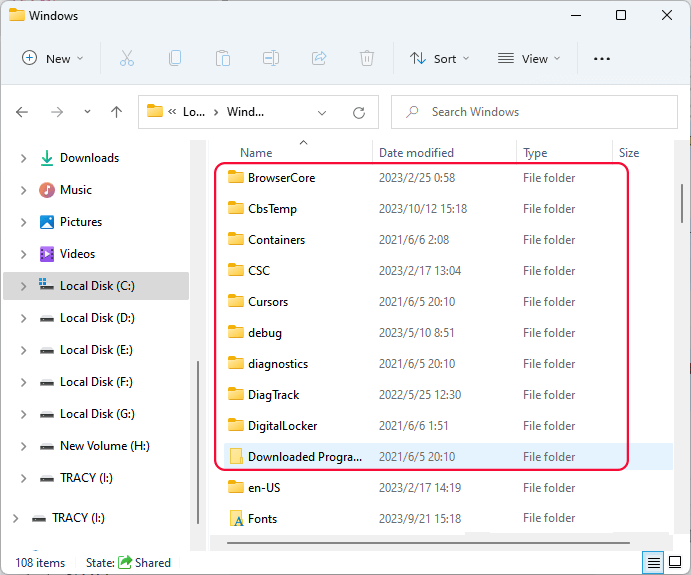
The first step is to identify and sort out the files containing sensitive information/data that you want to shred. These may include personal documents, financial records, or any data you wish to delete permanently.
💡Related Reading: How to Find Large Files on Windows 10
Navigate to the desired file location in Windows Explorer, and select and sort out the folders/files you want to shred on your computer or external storage devices.
If you need a further guide, refer to this link for help:
Locate, Remove and Delete Large Files in Windows
This article provides you with two effective ways to find, locate, remove and delete large files in Windows 10, 8 or 7. You can simply clean up and delete large files that are taking up space and slowing down your PC with provided solutions here. Read more >>
Once you determine what files you want to shred, follow the next step.
Step B. Turn to Third-Party File Shredding Software
In order to successfully shred files and make them irrecoverable, you need a reliable and trustworthy tool that can shred files. Qiling Disk Master is a reliable and reputable file shredding software for Windows 10. It offers advanced features like the File Shredder, which ensures that deleted files are securely overwritten and irrecoverable. Also, the software supports operations on both traditional hard drives and modern solid-state drives, making it versatile for various storage solutions.
Whether you're a home user, a small business owner, or an IT professional, Qiling Disk Master simplifies disk management tasks and empowers you to control your storage resources.
So, download and install Qiling Disk Master to shred files and eliminate worries about your sensitive data security.
C. Shredding Files using Third-Party Software
After downloading and installing the Qiling Disk Master, follow the step-by-step guidelines here to complete shredding files in Windows 10:
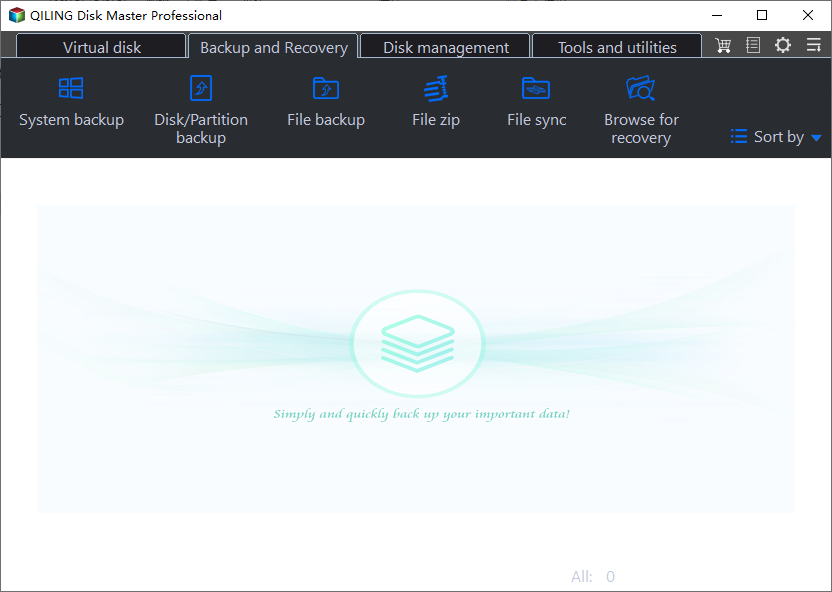
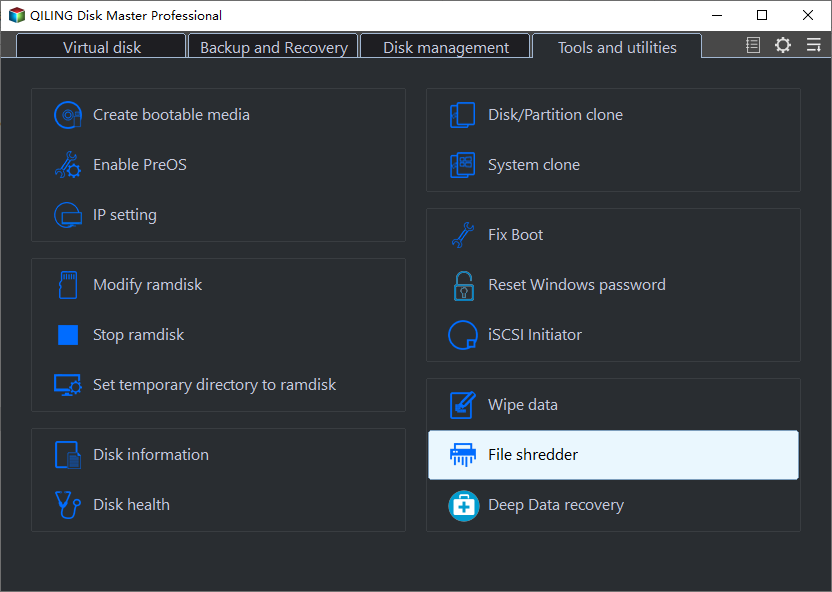
Step 1. Launch Qiling File Shreder
Run Qiling Disk Master, go to the Disovery section, and click "File Shredder" to run this file shreding tool.
Step 2. Select Files or Folders to Shred
Drag files or folders to the center area or click "Add Folder", "Add Files" to select target files or folder to shred.
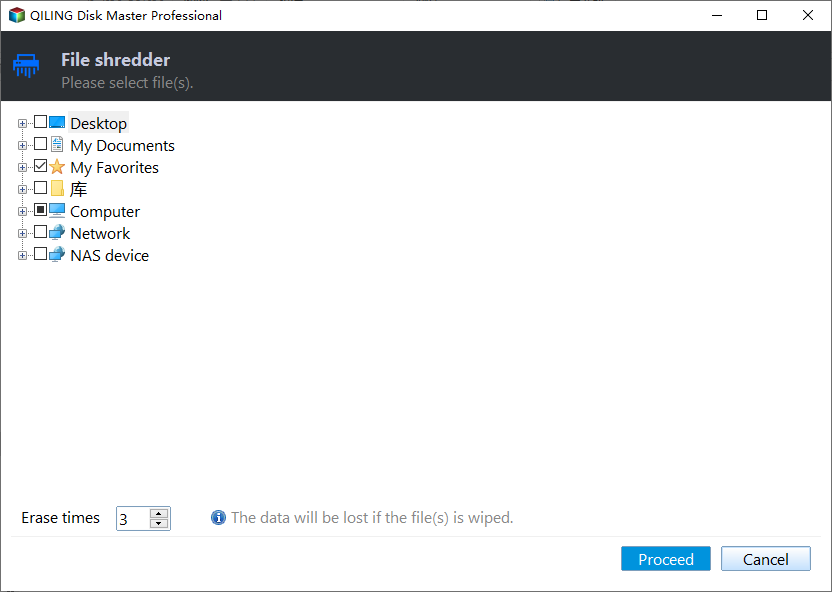
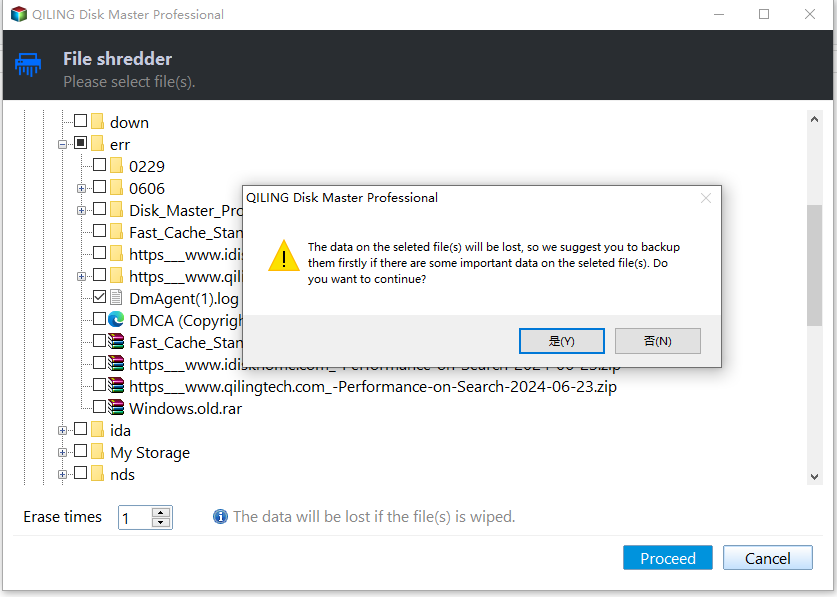
Step 3. Confirm to Shred
Confirm the selected files or folders, and click "Shred" to execute the operation to permanently shred data from your device.
Feel free to share this amazing tool to help more of your friends effortlessly shred files on their computers and external storage devices for free:
When to Apply File Shredding in Windows 10?
File shredding in Windows 10 is a crucial security practice in various scenarios. Here are a few situations when you need to apply a file shredding tool:
|
A. Shredding Recycle Bin Contents: |
Before emptying your Recycle Bin, shred the files to ensure they are permanently deleted. This prevents anyone from potentially recovering sensitive data you thought was deleted. |
|
B. Shredding Files on External Drives: |
When transferring files to external drives, remember to shred them from your computer after the transfer. This prevents data leakage if the external drive is lost or shared. |
|
C. Clean up confidential or private document files: |
Regularly shred documents containing sensitive information, such as financial records, medical reports, or personal correspondence, to maintain your privacy and data security. |
|
D. Additional Security Measures: |
When enhancing overall computer security, consider file shredding as part of your toolkit. Use it alongside other measures like encryption and strong passwords to fortify your data protection. |
|
E. Before Selling or Disposing of Hardware: |
Before selling, recycling, or disposing of old computers or storage devices, use file shredding to erase all data thoroughly. This prevents potential data breaches and identity theft. |
|
F. After Virus or Malware Attacks: |
If your computer has been compromised by malware or viruses, shred files that may have been infected. This ensures that the malicious code cannot be resurrected from deleted files. |
|
G. When Sharing a Computer: |
If you share a computer with others, consider shredding files after each use, especially if they contain personal or confidential information. |
| H. End of a Project: | When a project or work assignment is complete, shred project-related files to clear clutter and protect sensitive project data. |
Applying file shredding in these situations can enhance your data security and protect your sensitive information from falling into the wrong hands.
Conclusion
File shredding in Windows 10 is necessary to protect your data. It ensures that your sensitive data is permanently and irreversibly deleted. However, it is a complex process to shred files easily and quickly, so the significance of using reliable third-party file shredding software arises. Qiling Disk Master comes in handy to simplify and enhance the process of secure file deletion. This tool offers the easiest way to protect your data from potential threats.
It's essential to prioritize file shredding as a core element of your data protection strategy. Whether you're managing personal documents, sensitive work files, or project-related data, the practice of file shredding offers you digital privacy and security in Windows 10. Make it a routine to shred files in situations that demand data protection and rest easy knowing that your sensitive information remains confidential and irretrievable.
FAQs of Shredding Files in Windows 10
If you have more queries about shredding files in Windows 10, read these FAQs to get the appropriate answer.
1. What is the best free file shredder for Windows 10?
In the ocean of different paid and free file shredder tools for Windows 10, one of the best free file shredders is Qiling Disk Master. It offers a file shredder feature to delete files securely. Simply download and install Qiling Disk Master to permanently delete files and make them irrecoverable.
2. Does Windows 10 have a file shredder?
Windows 10 does not have a built-in file shredder. You need to use third-party software such as Qiling Disk Master to shred specific files on a Windows 10 system securely. However, the built-in Command Prompt is used to erase an entire disk or drive, and obviously, this is not a suitable option for various reasons. It would be suitable when you decide to delete the entire disk/drive's content.
3. How do I permanently shred a file in Windows 10?
To permanently shred a file in Windows 10, you can utilize third-party software like Qiling Disk Master. Here's a quick guide:
- Download and install Qiling Disk Master.
- Launch the software and choose "File Shredder."
- Click "Add" to choose the file you want to shred.
- Confirm the file selection and click "Shred."
Related Articles
- Full Guide to Check and Fix Disk Error in Windows 11
- Can I Run Windows Disk Speed Test with Command Line? Sure, Your Guide Is Here