Recover Files and Data Deleted by CCleaner [Updated 2022]
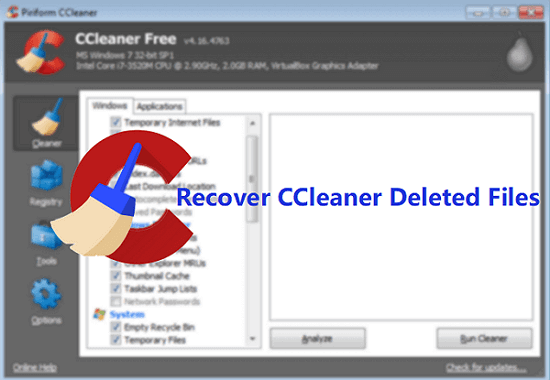
CCleaner, short for Crap Cleaner, is developed by Piriform, which serves users as a utility tool to clean unwanted or useless data including temporary internet files and even files in the recycle bin. And this program soon got hot when it was first released.
When CCleaner deletes your valuable files by mistake, don't worry. Follow this page, you'll learn how to recover CCleaner deleted files and useful tips to protect data.

CCleaner deleted my files
"Hey, guys. Do you have any ideas on how to recover data cleaned by CCleaner? Yesterday, I got a warning notice from my computer, telling me that the drive is not available for storing more data. Then, I used CCleaner to delete some files and folders and wipe out all those deleted files and data from the recycle bin. And the problem started.
I was about to email and send an important file to my colleague. The file disappeared together with some other important data. And nothing showed up in the Recycle Bin as I had emptied it. What can I do to recover data cleaned by CCleaner? I need help."
What to do when CCleaner cleaned your computer volume or deleted files on your computer?
Stop using the software and your computer or storage devices first. Then find a professional data recovery software to perform CCleaner file recovery immediately.
Tips for recovering files deleted by CCleaner
Is it possible to get data back after using CCleaner? Can inexperienced users recover data cleaned by this software? Sure! Here are some tips for you to follow and increase the chances of data recovery after using CCleaner:
# 1. Change settings in CCleaner
According to CCeanler website, to increase the chances of file recovery, you should avoid using the below settings in CCleaner:
- 1. Secure Deletion (Don't use 7 or 35 passes)
- 2. Wipe free space on drives
- 3. Wipe the MFT free space
- Notice:
- The fewer passes in the secure deletion settings, the better chance you'll have for data recovery.
- Once you noticed valuable files get deleted by CCleaner, stop the cleaning process immediately and don't use your storage device.
# 2. Download professional data recovery software for help
Professional data recovery software like Deep Data Recovery is able to recover partial data from an unfinished cleaning process and files deleted by secure deletion with pass 1 or 3 passes settings in CCleaner.
It enables users to recover whatever they lost on their computer and other storage devices.
Recover data cleaned by CCleaner with Deep Data Recovery
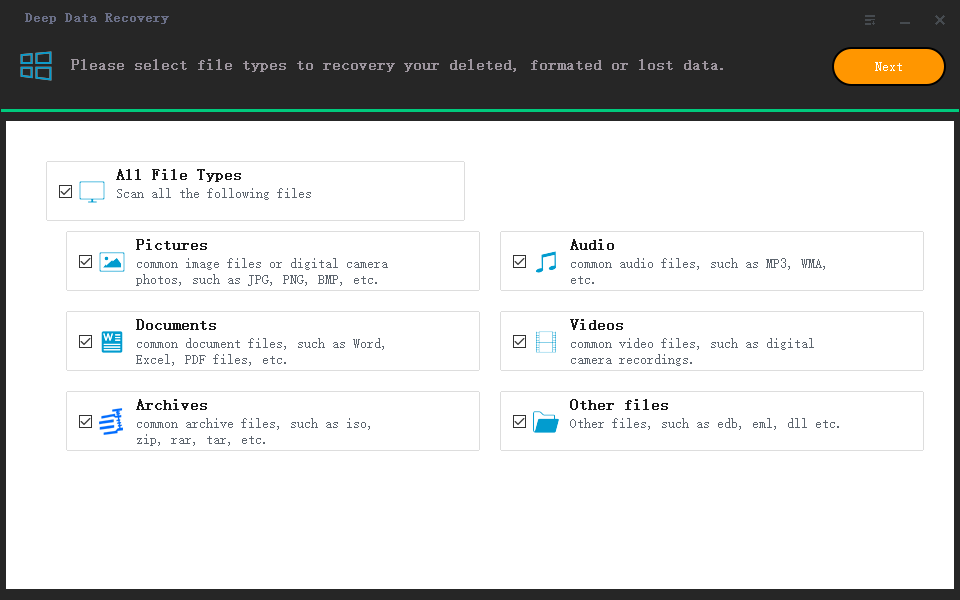
Deep Data Recovery entitles great users with powerful capacities in dealing with different troublesome data loss cases. Now, you can apply this software to recover your lost data cleaned by CCleaner by following the 3 steps below:
Step 1. Launch Qiling file recovery software on your Windows computer. Choose the file types and click the "Next" button.

Step 2. Choose the exact location where you lost the files and click the "Scan" button.

Step 3. The software will immediately start scanning the drive, and the deleted files will be displayed soon. If you find the files you need during the scan, you can stop the scan. In order to find the target file quickly, you can use the file format filter.

Step 4. Select files, such as Word, Excel, PDF, photos, videos, or emails and click the "Recover" button. You can browse for a different location to keep the recovered files.
Important: tips to protect data from CCleaner deletion
Besides offering a solution for data recovery, we'd also like to offer you some useful tips to protect your data from being deleted by CCleaner.
# 1. Create a regular backup of valuable data
Whenever you deleted or lost data due to deletion, formatting or other various reasons, data backup is always a lifesaver. Therefore, do remember to create a regular backup of valuable data on your computer or external storage devices.
Qiling Backup Free, with its File Backup, Disk/Partition Backup features, enables you to directly back up all files at one time in only 3 steps. You can't really miss it! Here are the steps:
Step 1. Start with selecting the backup contents.

Step 2. There are four backup categories, File, Disk, OS, and Mail, click Disk backup.
Step 3. It is available to back up a whole disk or a certain partition. Choose the one you need and click OK.

Step 4. Select the destination where you want to save the backup.

Step 5. For disk/partition backup, you can choose to save the backup to local drive or to NAS.
Step 6. After the backup process is completed, your task will be displayed at the left. Click any one of the task, you can further manage your backup such as recover it, create incremental backup, etc.

# 2. Don't use CCleaner with its default settings
When you run CCleaner with its default settings, the chance of file recovery will be minimized. To increase the chance, change its default settings as recommended above.
Related Articles
- Recovered Files Won't Open or Not Opening
- How to Fix External Hard Drive Not Showing Up on Windows 10
- Recycle Bin Empties Itself: How to Stop Recycle Bin Auto Deletion in Windows 7/8/10
- How to Automatically Delete Temp Files in Windows 7/8/10